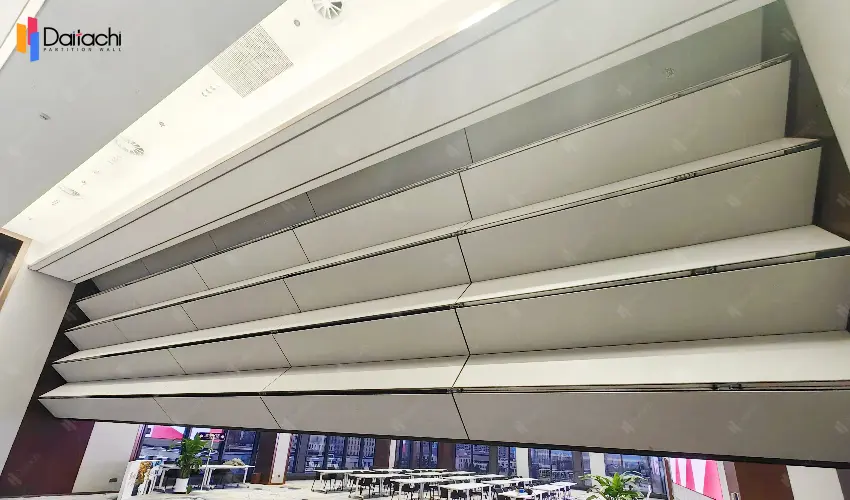
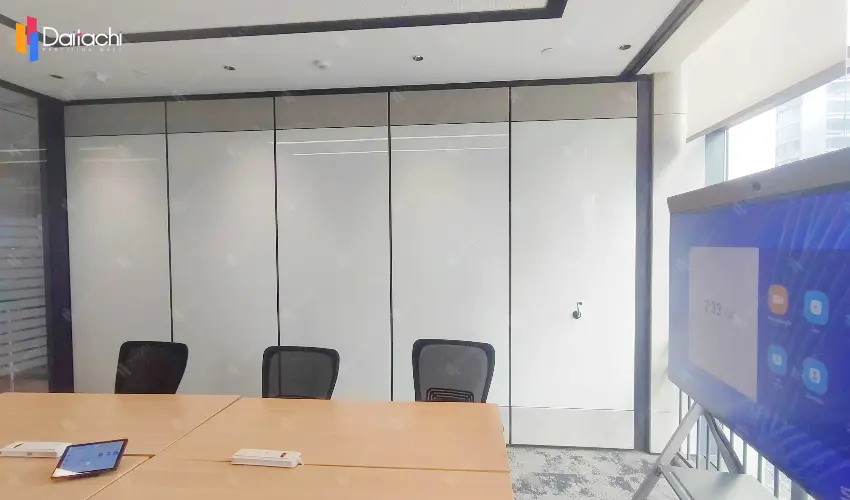
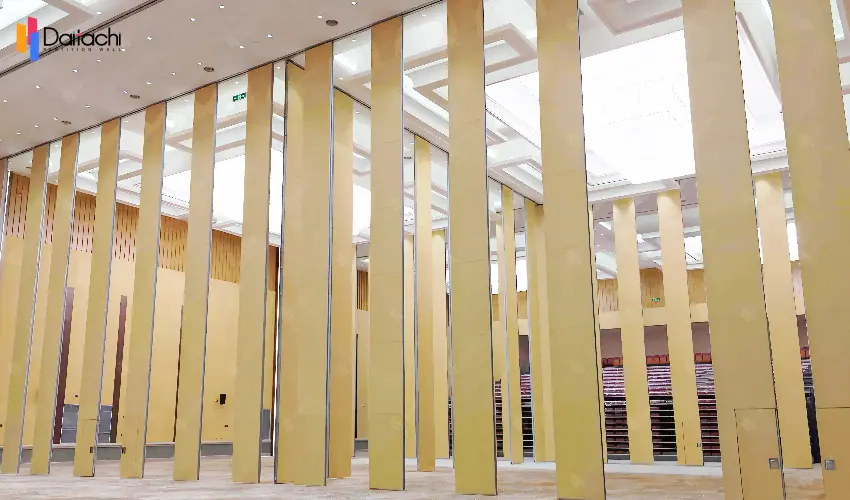
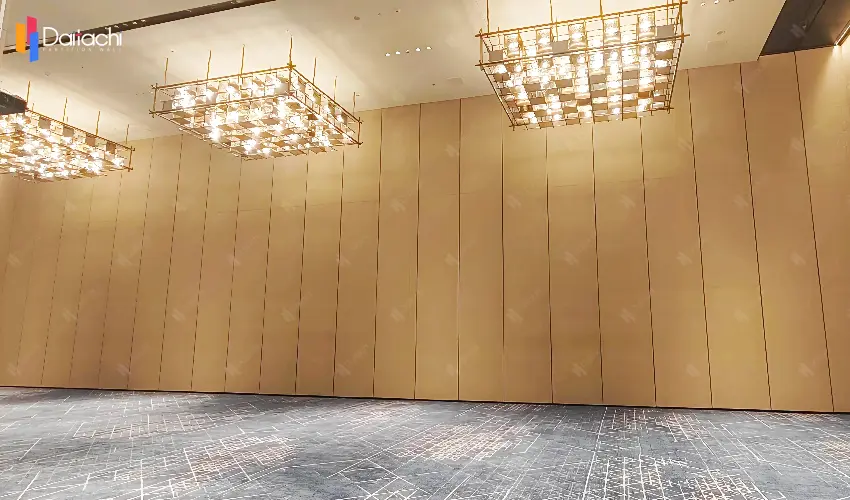
To learn about all aspects related to Vertical Folding Partition Wall, you can consult our comprehensive guide on Vertical Folding Partition Wall Hub.
The installation of vertical lifting walls must adhere to strict technical specifications and safety standards. The following provides a detailed explanation from three dimensions: installation steps, key technical requirements, and safety precautions:
Preliminary Preparation
Clean the installation area, ensuring the ground is flat, firm, and free of obstacles. Check that the vertical lifting wall and its accessories (such as standard sections, wall brackets, bolts, pins, etc.) are intact and complete.
Prepare the necessary tools (such as wrenches, safety ropes, safety helmets, etc.) and measuring instruments (such as theodolites, spirit levels, etc.). Determine the installation position of the vertical lifting wall according to the engineering construction layout plan and specific site conditions.
Foundation Installation
According to the design requirements, install the foundation section of the vertical lifting wall and add a certain number of standard sections. Use a spirit level to measure the verticality of the guide rails, requiring a deviation of less than or equal to one thousandth, and tighten the anchor bolts.
Installation of Cage and Drive Plate
Use lifting equipment to accurately position the cage from above the standard sections, and roughly adjust the lower swing wheels and side rollers of the cage. Install the guardrail on top of the cage and adjust the mechanical door locks of each door. Similarly, use lifting equipment to accurately position the drive plate from above the standard sections, roughly adjust the rollers, and connect the drive plate and the cage with pins.
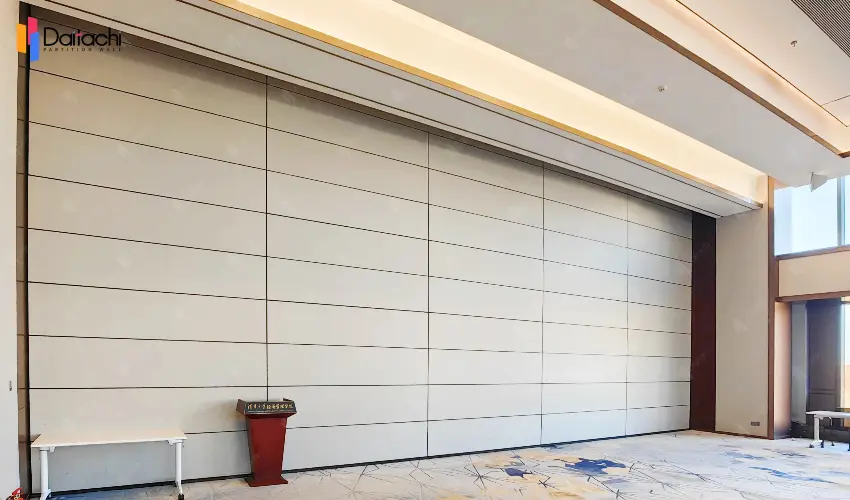
Guide Rail Frame Installation
Use a lifting rod to lift the cage and stabilize it at the top. Start the cage upwards, stopping when the top of the cage is approximately 300mm from the top of the guide rail, being careful not to hit the top.
Then, use the lifting rod to lift the standard section slightly higher than the top of the guide rail, rotate the lifting rod to align the standard section with the top of the guide rail, lower it, and tighten the connecting bolts. Repeat this process, gradually increasing the height of the guide rail. When reaching the position for installing the wall brackets, install the wall brackets promptly.
Wall Bracket Installation
According to the model of the vertical lifting wall and the installation manual, select the appropriate wall bracket model. Install the front attachment rod on the guide rail frame, and then install the wall bracket. Adjust the verticality and tighten the bolts. Slowly start the cage and check if it collides with the wall bracket.
Installation of Sheave and Counterweight Wire Rope
Once the guide frame is installed to the required height, the vertical lifting wall with counterweight should have the sheave installed at the top, and the counterweight should be suspended with a wire rope.
First, lift the sheave to the top of the hoist cage. After the hoist cage rises to the top, lift the sheave to the top of the guide frame and install the bolts. Then, thread the counterweight wire rope and install the rope clamps.
Adjustment and Inspection
Adjust the length of the counterweight wire rope so that when the hoist cage reaches its maximum height, the counterweight is at least 550mm above the ground.
Related Articles: Installation Steps and Precautions for Vertical Lifting Walls(Part 2)
What Are the Complete Installation Steps for a Vertical Lifting Wall?
Must Read Before Installation: Is Your Building Structure Suitable for Vertical Folding Walls?