To learn about all aspects related to Movable Partition Wall, you can consult our comprehensive guide on Movable Partition Walls Hub.
The installation of veneer is essential to create a smooth, aesthetic and perfectly functional wall. These are the steps to install it as well as ways to stop bulging from the process of putting veneer on.
Examine the state of the materials: Make sure that each panel walls, partition frames for wall, connectors, and other materials is in good shape and is in line with the measurements.
Cleanse the walls: Make sure you thoroughly clean the exterior of the wall frame in order to be sure that it's clear of dirt, oil, along with other impurities.
Equipment:Take a look at the tools required to set up such as the electronic drill, screwdriver, tape to level, measure and cutting tool.
Mark and measure: Use an appropriate tape measure, as well as the level to identify and measure the position of veneer in the wall frame of a partition. Make sure the markings are both horizontal and vertical in order to allow for a seamless installation.
Beginning from the same ending: Choose one side of the wall to be the point of beginning. The first piece of veneer should be placed to the right of the mark before gently pressing it against the frame.
The veneer panels must be firmly secured. Use an electric or screwdriver to secure the veneer panels to the frame, using appropriate fixing points. Fixing points should be distributed evenly so that a uniform quantity of pressure is applied to the veneer panels.
Install: All the remaining panels each one-by-one, employing the same procedure. While installing, always use a tool to determine the level of the panel as well as the vertical dimension, before making any necessary adjustments.
Joint Management: It is advisable to leave space between the panels of veneer to accommodate the contraction or expansion of energy. Utilize joints management equipment or sealants to fill the gaps, which creates the appearance of a seamless and aesthetic joint, as well as an ideal seal.
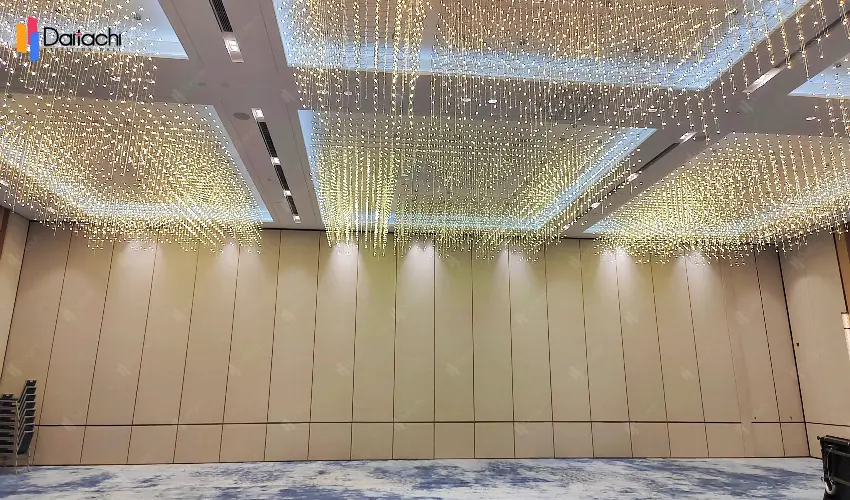
Materials selection and inspection: Select high-quality, seamless plywood panels. Before installation, inspect the boards for indications of bends or irregularities. Check that the frame of the partition is solid and not prone to any deformation or distortion. The frame's level directly affects the process for installation.
Methods of Attachment: Use the specially-formulated adhesive with a uniform pattern to the back of the veneer panels and ensure that there is full coverage and uniform dimensions. After you've attached, slowly move between the sides one after the next, removing the air trapped between the frame and panels so that the frame does not bulge due to the air trapped.
Compacting and repair: Once applying the veneer, you may make use of a suitable roll or flattening tool to press the veneer to ensure it's securely fixed to the frame. Take care to not apply too much pressure on onto the surface until the adhesive is completely dry, as it could slip or break.
Environment Control: During the process, ensure an acceptable ambient temperature and humidity. Temperatures that are too low or excessively high as well as humidity may affect the curing process of adhesive, resulting in the veneer becoming sagging. Don't install the veneer in intense sunlight or in strong winds as they could cause the glue to dry too much and affect how the veneer is likely to have.
If you follow the earlier instructions to install and tips to make sure you aren't sagging and you'll be able to ensure the same visual, attractive and durable use of the laminate on your wall. It will also allow you to move it so that it are able to move. This will enhance the look as well as the performance of your wall partition and will be able to accommodate your different requirements for space.
Related Articles: DIY Partition Wall Construction Guide: a Complete Guide From Materials to Installation
Veneer Material Analysis: A Comprehensive Explanation from Composition to Durability
an in-depth Analysis of HPL and HDF Partition Wall Materials: How to Choose the Right Solution?