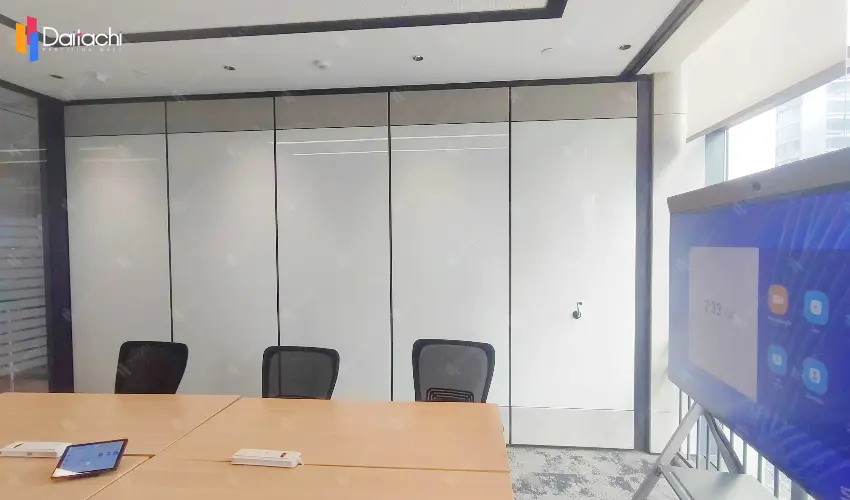
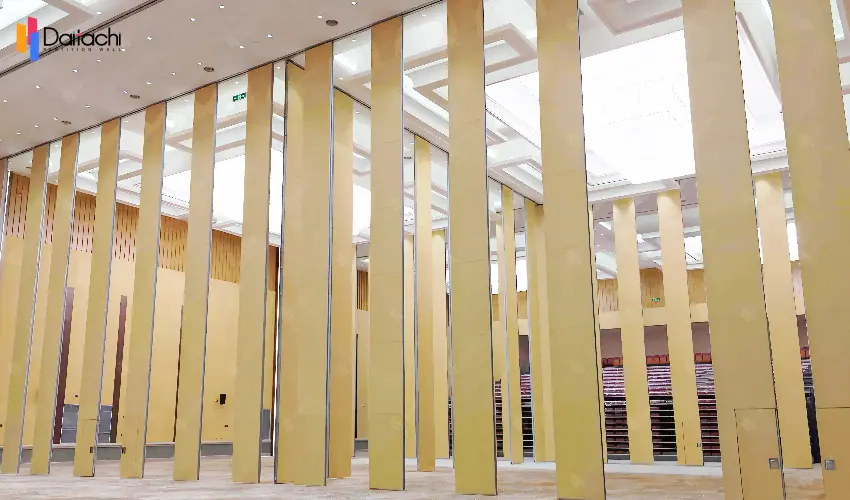
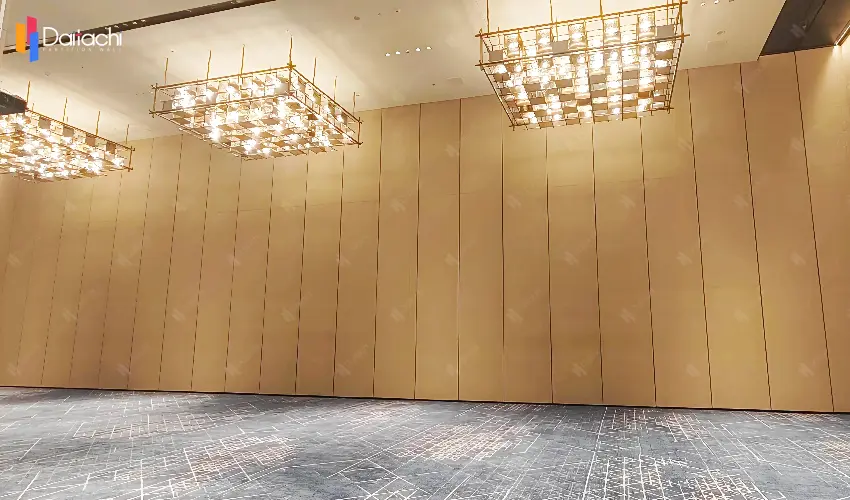
To learn about all aspects related to Movable Partition Wall, you can consult our comprehensive guide on Movable Partition Walls Hub.
Acoustic wall panels that can be removed are usually designed for modular replacement. That is, damaged panels are able to be repaired individually, without removing the whole system. This type of design drastically minimizes the cost of repairs and time however its viability will depend on the kind of construction the connection technique, as well as materials property. This is a comprehensive explanation of the concept:
1. Modular design is a prerequisite.
Removable partitions: If the panels are attached to the frame using concealed hinges, spring locks, or bolts, and the frame is designed asa self-contained, segmented structure, the panels can be replaced individually.
For example, office partitions use aluminum frames. Each panel is secured with four bolts, which can be easily loosened.
2. The connection process has to be reverse-able.
Connections that can be removed: Utilize permanent fasteners that are not permanent, like clips, screws, or latches that allow for safe removal.
Connectors that cannot be removed: If panels are joined to the frame via glueing, welding, or by riveting, they need destruction to remove them and can't be replaced separately.
Strategies to avoid pitfalls: Before purchasing, check the method of connection and prioritize products marked "modular design" or "removable panel."
3. Panel Type Affects Removal Efficiency
Panels that are lightweight(such as honeycomb aluminium and wood-plastic panels). A single person, light weight operation and effective removal.
Panels that are heavyweight (such as steel or wooden sandwich boards). Replacement and removal will require two individuals or lifting equipment, which makes the process labor-intensive.
Panels that are special (such like composite panel that include integrated circuits or soundproofing material). The internal wiring needs to be removed or the fillers disconnected which can further complicate removal.
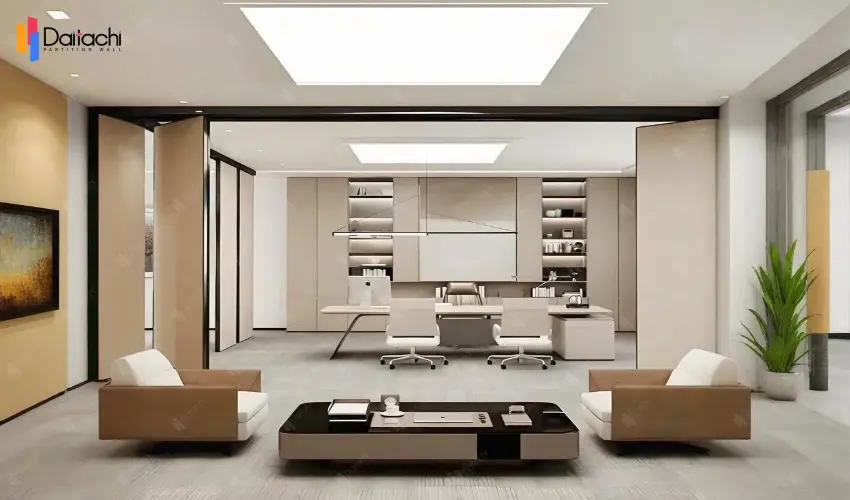
Step 1: Safety Precautions and Tool Preparation
Protective Measures: Wear gloves and goggles to prevent scratches; lay mats on the floor to prevent damage from falling panels.
Required Tools:
Basic Tools: Screwdriver, wrench, rubber mallet, suction cup (for glass panels).
Special Tools: Track clamp unlocker, keel separation pliers.
Auxiliary Equipment: Laser level (for ensuring the verticality of the new panel installation) and electric screwdriver (for increased efficiency).
Step 2: Locate and Remove the Damaged Panel
To begin, you must remove the partition that slides to ensure that the damaged portion is inside the operating area. Utilize a screwdriver for loosening bolts that secure this panel joint (usually 4 to 5 bolts each side). If the panel has been attached to the next panel via hinges, loosen up the hinge screws prior to removing from the panel that is damaged.
Step 3: Install the New Panel
Begin by aligning your new panel against the frame of the joist and then secure it using bolts (do not tighten). Next, you can use laser levels to set the panel's horizontality, and to ensure that there are no gaps between adjacent panels. After that, tighten all bolts, attach the hinges and check to see if they are able to slide.
Step 4: Functional Testing and Finishing Touches
Soundproofing Test: Tap the panel in order to verify a snug fit of the inner soundproofing materials.
Verify the sealing by observing the small gaps that exist between the rail, panel and Joist. Incorporate additional sealing strips when needed. Cleaning and maintenance: Clean the panels surface using a clean cloth to eliminate dirt and fingerprints.
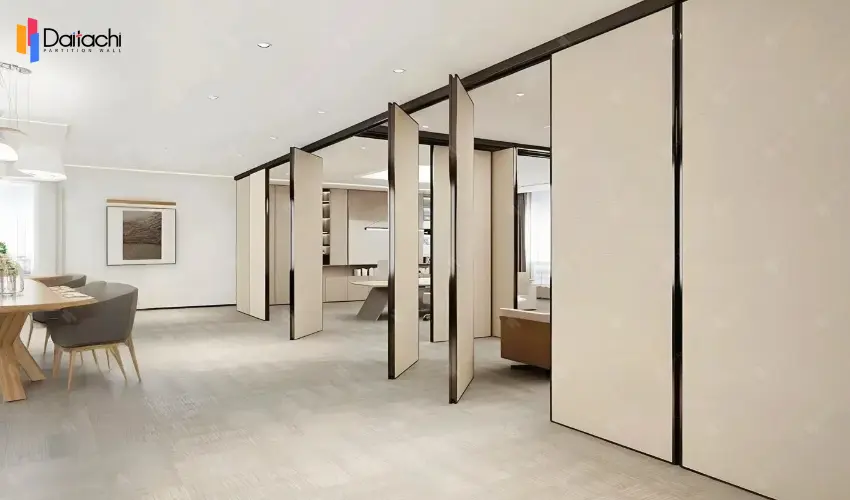
Problem 1: The panel is stuck and cannot be removed.
Reason: Deformed track, rusted connectors, or expanded filler.
Solution: Spray a lubricant (such as WD-40) on the track, wait 10 minutes, and then attempt to remove it. Gently tap the edge of the panel with a rubber mallet to loosen the snaps. If the filler has expanded, cut away some of it (such as sound insulation) before removing the panel.
Problem 2: Noticable colour difference between panel that is new and the old one.
Reason: Different batches of materials or different degree of surface ageing.
Solutions: Call the seller for panels that are of the same batch, or inquire about a color matching service. The older panels need the use of a surface treatment (such such as laminating or painting) in order to be matched with the colors of the brand new panels. The new panels should be installed within a hidden area (such on the top) in order to reduce visual impact.
Problem 3. The partition emits odd noises in the course of operation following its removal as well as replacement.
Reason:The misaligned panels and tracks. Also, the accumulation of debris or loose connectors.
Solution: Adjust the panel in order to make sure it's parallel to the track. Clear any dirt or dust off the track, and then apply some grease. Verify that all connectors (such as clips or bolts) are secured.
Routine Maintenance: Clean the track regularly to prevent sand from abrading the connectors. Avoid hanging heavy objects on the panel or subjecting it to strong impacts to prevent deformation.
Related Articles: Ultra-High Operable Partition Walls: Materials and Design Concepts
Exploring Superior Internal Structure: Why Our Movable Partitions Exceed Expectations?