To learn about all aspects related to Movable Partition Walls , you can consult our comprehensive guide on Movable Partition Walls Hub.
Building a movable sliding room dividers in an unfurnished room requires balancing space planning, structural stability, and compatibility with future renovations. Below is a detailed step-by-step guide covering the entire process from initial preparation to completion:
Needs Analysis and Design
Functional Positioning: Define the purpose of the partition wall (e.g., office partitioning, bedroom separation), and determine if sound insulation, fireproofing, or light transmission is required (non-glass materials can achieve partial light transmission through openwork design).
Space Measurement: Measure the room's length, width, and height, marking the locations of beams, columns, doors, windows, and pipes to avoid conflicts between the partition and the building structure.
Design Drawings: Draw the partition wall's floor plan and elevation, marking the track location, doorway dimensions, and finishing details to ensure coordination with the subsequent renovation style.
Material Selection
Track System:
Suspended Track: Suitable for rooms with a stable ceiling structure; requires pre-embedded expansion bolts or welded steel structural supports.
Supported Track: Directly fixed to the ground; requires a ground flatness of ≤5mm; suitable for lightweight partitions.
Partition Panels:
Lightweight Bricks/Aerated Concrete Blocks: Good sound insulation, but poor flexibility; suitable for long-term fixed partitions.
Wooden Frame + Sound Insulation Cotton: Disassembled and reconfigurable; can be paired with plasterboard or wood veneer, balancing aesthetics and functionality.
Aluminum Alloy Frame + Modular Panels: Supports vertical folding or sliding, suitable for flexible space requirements.
Auxiliary Materials: Sealing strips, concealed hinges, pulley blocks, L-shaped corner brackets, self-tapping screws, etc.
Tool Preparation:
Power Tools: Electric drill, impact drill, cutting machine, laser level.
Hand Tools: Ink line, tape measure, straightedge, screwdriver, utility knife.
Safety Equipment: Dust mask, goggles, gloves, safety belt (for working at heights).
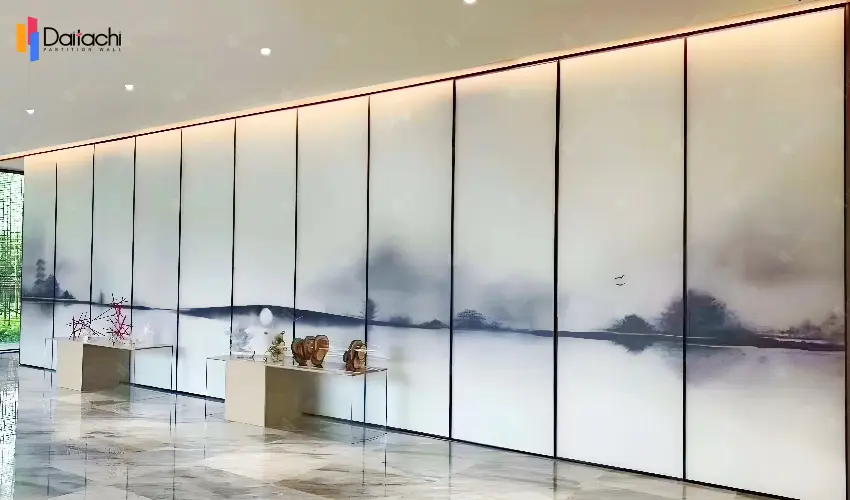
Phase 1: Basic Structure Construction
The Laying Out and Positioning Laying Out and Positioning: Use a laser to determine the centerline of the track, both on the ceiling and ground as well as a precision control to between +-2mm.
The fixing holes should be marked (spacing 600mm for track with light duty 400mm for heavy-duty tracks). Beware of water and electric pipes.
Track Installation
Suspended Track:
In the ceiling, drill holes (Ph12mm and 80mm deep) and then insert anchors made of chemical as well as expansion bolts.
Join angle iron brackets to suspend the track with threaded rods (Ph10mm) Adjusting for a degree of levelness error of 1mm/m.
Bearing Track:
In the ground, drill holes (Ph10mm and at 60mm depth) and fix the base of the track with bolts for expansion.
Add 5mm rubber pads to provide shock absorption. Also, ensure an even space between the tracks and surface.
Framework Construction (Suitable for aluminum alloy and wood partitions):
Vertical keel spacing of 400mm. horizontal keel spacing >600mm joined and secured with Angle brackets in the shape of an L.
Attach the frame to track by pulling systems. Leave the joint with an extension of 5mm in order to avoid stretching.
Phase 2: Panel Installation and Debugging
Panel Fixing
Prefabricated panels should be stabilized (such as plywood veneer panels) on the keel with self-tapping screws with screw spacings of between 200 and 300mm.
Embeddelayed EPDM sealing strips on junctions in panels, then finish the top edge with aluminum alloy strip trim and put dustproof brush at the lower end.
Pulley and Guide System Debugging
The pulley's height can be adjusted to make sure the partition's verticality is at least 2mm/m, and the resistance to pulling and pushing is consistent.
Install guide rails to stop disalignment in the partition and guarantee a an even and stable slide path.
Door Opening Treatment
Set a width for the door that is that is 20 millimetres larger than the actual door's width. You can also install hidden hinges, or even a sliding door to test the ease of closing and opening.
Phase 3: Detail Processing and Acceptance
Sealing and Sound Insulation Optimization
Seal gaps with sealant and place sound insulation felt on the door's frame to increase the overall performance of sound insulation.
Acoustic Insulation Test: After closing the partition, the background noise must be less than 40dB (typical office demands). Verticality and Horizontalness Test Utilize a straightedge to verify the verticality of partitions. If the difference is greater than 3 millimeters, make adjustments to the pulleys and joists.
Push-Pull Test: Test the force of 30N of force applied one person. The partition must slide easily without jamming or making an unusual noise.
Safety Check: Check that all fasteners have been secured and the track's load-bearing capacity is in line with the design specifications (e.g. for example, a 50kg partition that has 75kg of pulleys).
Install railings for work in high altitude areas. Ground the tools' grounding, including electric drills.
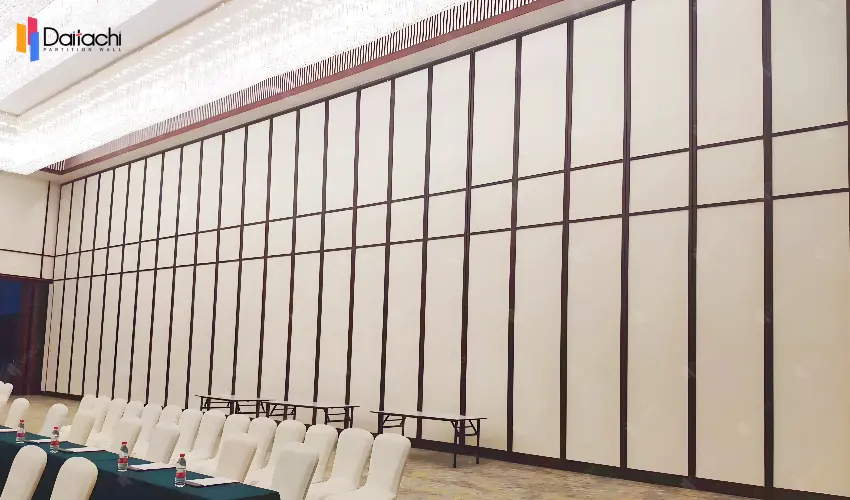
Compatible with subsequent decoration: Track installation is required to consider the ceiling's thickness in order to avoid conflict.
Make sure to leave room for base treatment on the wall of partition (e.g. the plastering process or painting) to make sure that it is consistent with the overall design style.
Environmental protection of materials: Choose E0-grade boards as well as water-based paints and other eco-friendly materials in order to minimize the release of formaldehyde.
Maintain ventilation during construction to reduce dust pollution.
Flexible design: In the event of future adjustments an adjustable track system is available for reconfiguration, or the addition or removal of partition panels. An access panel for maintenance is available for ongoing maintenance of track and pulleys.
Track Deformation: Replace with strong tracks (e.g. 60x40mm rectangle tubing) and also add intermediary support points.
Pulley Jamming: Clear obstructions from tracks, then put on molybdenum disulfide.
Panel Cracks: Re-enforce the joints using wooden blocks, then repair them with sealant followed by the application of an anti-crack fabric.
Building sliding folding partitions movable walls for spaces that aren't finished is a matter of following the fundamental concepts in "structural safety + functional flexibility + interior design compatibility." By precise measurements, standard construction, and precise adjustments, an efficient partitioning system that is compatible with the requirements of space and allows for further modifications is possible. The best advice is to confide the task with a qualified construction crew to guarantee project high-quality and security.
Related Articles: Importance of Movable Partition Installation Method
Manual Movable Partition Wall Installation Steps and Precautions