To learn about all aspects related to Movable Partition Walls , you can consult our comprehensive guide on Movable Partition Walls Hub.
V. Acoustic Performance Optimization: Synergistic Sealing and Sound Absorption
Challenge: Increased joint length in extra-high partitions significantly increases the risk of sound bridging.
Solution:
Sealing Design: Three-layer sealing at joints: first, EPDM foam strip (width ≥ 15mm); second, silicone sealant; third, compressible sealing tape.
Acoustic ceiling (thickness ≥ 50mm) is installed at the junction of the track and ceiling to block sound wave diffraction paths.
Sound Absorption Treatment: 50mm thick polyester fiber sound-absorbing board (NRC ≥ 0.85) is adhered to the back of the panels to reduce reverberation time.
Challenge: Long-term exposure to temperature differences, humidity, or corrosive environments can easily lead to material aging in extra-high partitions.
Solutions:
Material Corrosion Protection: Steel frame is hot-dip galvanized (zinc layer thickness ≥ 80μm) or coated with epoxy zinc-rich primer (dry film thickness ≥ 60μm).
Aluminum alloy track surface is anodized (film thickness ≥ 15μm), acid and alkali resistance level ≥ 9.
Temperature and Humidity Control: 3-5mm expansion joints are reserved at panel seams to accommodate temperature changes (silicone sealant is recommended, temperature range -40℃ to +150℃).
PVC Film-Coated Panels: For humid environments (e.g., swimming pools, bathrooms), use panels with a water absorption rate ≤ 0.5%.
Regular Inspection: Check track corrosion every six months, using an eddy current meter (accuracy ± 0.1μm) to assess the remaining zinc layer thickness.
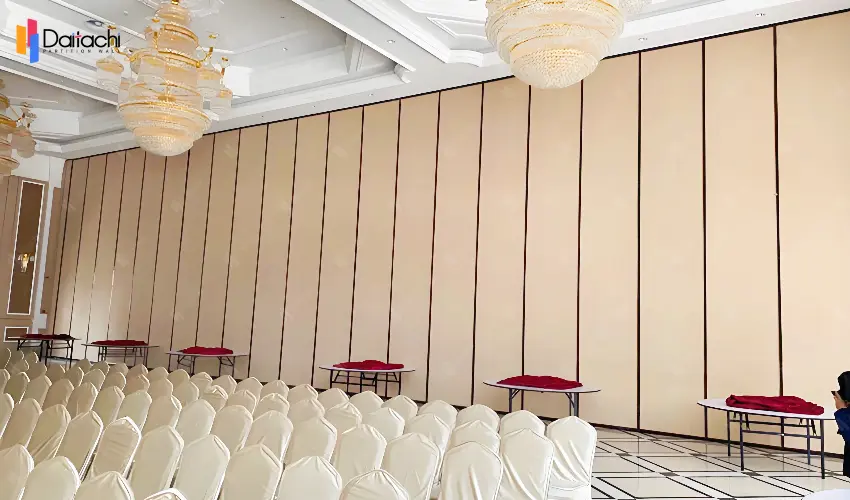
On-site Pre-treatment:
Clean up debris on the ground, ensuring the track installation surface flatness is ≤ 2mm/2m.
Pre-embedded component positioning: Lay out using a total station, error ≤3mm.
Step-by-step installation:
Step 1: Install the top and bottom rails, calibrating verticality using a laser level.
Step 2: Assemble the frame and hoist it onto the rails, adjusting levelness using a level.
Step 3: Install the panels, fixing them layer by layer from bottom to top, checking the joint sealing of each panel.
Acceptance testing:
Load test: Apply 1.2 times the design load to the top of the partition, maintaining no deformation for 24 hours.
Sound insulation test: Use a sound level meter to measure the sound pressure level difference between the two sides of the partition; the STC value must meet design requirements.
The installation of ultra-high movable partition walls is a comprehensive application of materials science, structural mechanics, and precision manufacturing. Companies need to establish a full-process control system encompassing "design-material selection-installation-acceptance," such as simulating the partition's stress state using BIM technology or verifying on-site dimensions using a 3D scanner, to ensure that each ultra-high partition achieves the core values of "safety, stability, and quietness," providing reliable spatial solutions for high-end commercial spaces.
Related Articles: Analysis of Core Factors in the Installation of Extra-High Movable Partitions (Part 1)
Manual Movable Partition Wall Installation Steps and Precautions